

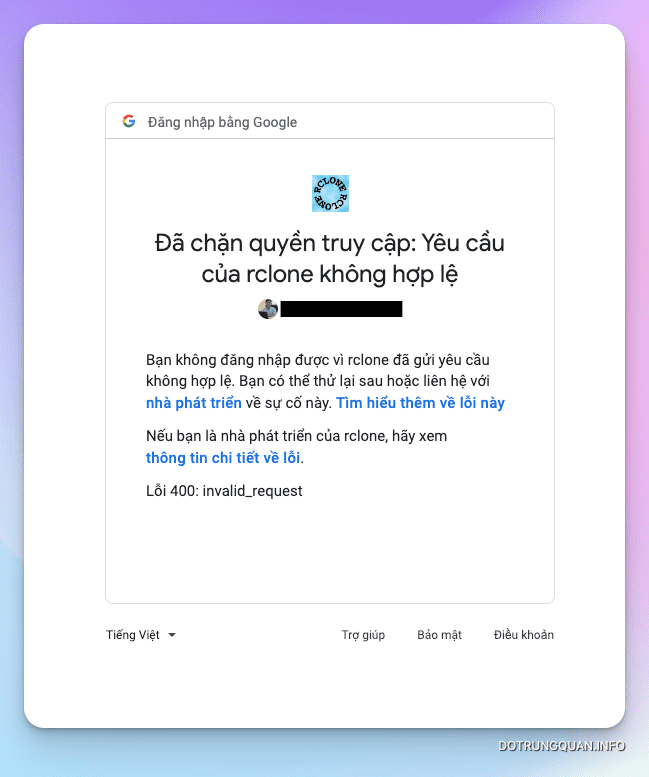
Hiện mình gặp khá nhiều bạn thực hiện cấu hình Rclone và gặp lỗi 400: invalid_request
Lỗi “400: invalid_request” trong Rclone thường xảy ra khi yêu cầu của bạn đang cố gắng truy cập vào một tài nguyên không hợp lệ hoặc không tồn tại trên dịch vụ đám mây mà bạn đang sử dụng. Hoặc bạn sử dụng phiên bản quá cũ so với phiên bản hiện tại.

Như bên dưới là ảnh lỗi khi cố gắng cấu hình rclone. Nếu bạn không thể update lên phiên bản mới với lý do cá nhân thì bạn đừng lo lắng, hãy xem tiếp các bước bên dưới mình sẽ hướng dẫn bạn thực hiện xử lý lỗi này.


Bước 1: Tạo SSH Tunne
Nếu bạn đang trong cửa sổ SSH bạn hãy logout ra. Sau đó bạn tiến hành đăng nhập lại SSH vào VPS với câu lệnh như sau (Với Windows các bạn sử dụng CMD để SSH) để tạo một Tunne mới
ssh [email protected] -L 53682:127.0.0.1:53682Với những bạn không sử dụng tài khoản root mà sử dụng tài khoản ubuntu hoặc tài khoản tự tạo thì thay root bằng user của các bạn. Ví dụ:
ssh [email protected] -L 53682:127.0.0.1:53682Nếu bạn đổi port SSH thì lệnh sẽ có dạng như sau
ssh [email protected] -p 6789 -L 53682:127.0.0.1:53682Trong đó:
- 6789 là port SSH của bạn.
- xx.yy.zz.xx bằng IP VPS của các bạn

Bươc 2: Cấu hình Rclone
Bây giờ bạn thực hiện chạy lại lệnh rclone config để bắt đầu setup từ đầu. Bên dưới là thông tin mình thực hiện cấu hình và bạn hãy chú ý đến các dòng mình tô màu đỏ, đó là các dòng quan trọng trong các bước cấu hình.
Và dòng Remote config Use auto config? bắt buộc bạn phải chọn Y (Yes) để hoàn tất.
root@meeting:~# rclone config
No remotes found - make a new one
n) New remote
s) Set configuration password
q) Quit config
n/s/q> n
name> remote
Type of storage to configure.
Enter a string value. Press Enter for the default ("").
Choose a number from below, or type in your own value
 1 / 1Fichier
    "fichier"
......................

13 / Google Drive
    "drive"

Storage> 13
** See help for drive backend at: https://rclone.org/drive/ **

Google Application Client Id
Setting your own is recommended.
See https://rclone.org/drive/#making-your-own-client-id for how to create your own.
If you leave this blank, it will use an internal key which is low performance.
Enter a string value. Press Enter for the default ("").
client_id> Nhấn EnterGoogle Application Client Secret
Setting your own is recommended.
Enter a string value. Press Enter for the default ("").
client_secret> Nhấn Enter
Scope that rclone should use when requesting access from drive.
Enter a string value. Press Enter for the default ("").
Choose a number from below, or type in your own value
 1 / Full access all files, excluding Application Data Folder.
    "drive"
 2 / Read-only access to file metadata and file contents.
    "drive.readonly"
   / Access to files created by rclone only.
...........................
scope> 1
ID of the root folder
Leave blank normally.

Fill in to access "Computers" folders (see docs), or for rclone to use
a non root folder as its starting point.

Note that if this is blank, the first time rclone runs it will fill it
in with the ID of the root folder.

Enter a string value. Press Enter for the default ("").
root_folder_id> Nhấn Enter
Service Account Credentials JSON file path
Leave blank normally.
Needed only if you want use SA instead of interactive login.
Enter a string value. Press Enter for the default ("").
service_account_file> Nhấn Enter
Edit advanced config? (y/n)
y) Yes
n) No
y/n> n (Chọn N)
Remote config
Use auto config?
 * Say Y if not sure
 * Say N if you are working on a remote or headless machine
y) Yes
n) No
y/n> y (Chọn Y)
If your browser doesn't open automatically go to the following link: http://127.0.0.1:53682/auth?state=iFXszgBgG7qX9I2hejnq2w
Log in and authorize rclone for access
Waiting for code...
Got code
Configure this as a team drive?
y) Yes
n) No
y/n> n
--------------------
[remote]
type = drive
scope = drive
token = {"access_token":"ya29.a0AVvZVsol4MSZ_EluGXJVKRrZvaAO5JotII-T_sqKjVueX97L4AeUEZ_oYFcEPZEAqxyd3m3OPneiezJW5WCTGHZzYnGzLcsihkX9m0rFWVwZcpz8g5KJu-Itq_w6af_nMP8NtwIqJswmG1iOMQoEzrfvO_rfaCgYKAVYSARESFQGbdwaI7g_XnLnvHsFWo8rEbjwvww0163","token_type":"Bearer","refresh_token":"1//0egWT4wsFoweOCgYIARAAGA4SNwF-L9IrSNfh1nTzqbzGbjZtqPNvX8vRQ04a6RVR4CdEbiixscA8arQ5sOMF358xK68yL6U-VUk","expiry":"2023-02-17T04:38:46.338221125+01:00"}
--------------------
y) Yes this is OK
e) Edit this remote
d) Delete this remote
y/e/d> y
Current remotes:

Name                 Type
====                 ====
remote               drive

e) Edit existing remote
n) New remote
d) Delete remote
r) Rename remote
c) Copy remote
s) Set configuration password
q) Quit config
e/n/d/r/c/s/q>
Khi bạn nhận được đường link http://127.0.0.1:53682/xxxx bạn hãy copy nó dán vào trình duyệt sau đó chọn tài khoản Google cần sử dụng. Ở bước này bạn cứ nhận Cho phép hoặc Tiếp tục để hoàn tất.

Và cuối cùng bạn nhận được thông báo Success! là hoàn tất bước tiếp lập. Ngay lúc này Rclone của bạn đã được kết nối và sẵn sàng sử dụng.

Chúc bạn thực hiện thành công.